My first experience steaming milk with the Breville Barista Express was filled with uncertainty. Watching baristas at coffee shops effortlessly create creamy lattes and delicate foam designs made me wonder, “Could I replicate that at home?” After several attempts (and a few milk mishaps), I finally nailed the technique. Now, I’m thrilled to share the steps to help you master milk steaming and enjoy barista-level beverages in your own kitchen. Discover the advanced features and performance of this machine in our Breville Dual Boiler BES920XL review
Why Steamed Milk Is Essential to Great Coffee
Steamed milk isn’t just a complement to coffee; it plays a pivotal role in enhancing the flavor and texture of your drink. When properly steamed, milk achieves a smooth, velvety consistency that balances and elevates the espresso’s robust flavor. Achieving microfoam—a texture with tiny, uniform bubbles—creates the ideal mouthfeel. This harmonious blend of creamy milk and bold coffee transforms your cup into a luxurious latte, cappuccino, or macchiato. Learn about the ease of use and innovation in our Breville Barista Touch Impress review
Prepping Your Breville Barista Express for Success
The Breville Barista Express is a fantastic machine for home baristas aiming for café-quality drinks. With its powerful steam wand, this machine is user-friendly for beginners and versatile enough for seasoned coffee enthusiasts. By following the right steps, you’ll soon be steaming milk like a pro. Compare these two popular models in our Breville Barista Express Impress vs Pro review

Must-Have Tools for Milk Steaming
Here’s what you need for optimal results:
- Breville Barista Express (with steam wand)
- Cold milk (whole milk is best for creaminess, or try barista-grade oat or almond milk)
- Stainless steel milk pitcher (ensures consistent temperature control)
- Thermometer (optional, for precise temperature monitoring)
Step-by-Step Guide to Steaming Milk
1. Warm Up Your Machine
Start by allowing the Breville Barista Express to heat up completely. After activating the steam function, let it warm for an extra minute or two. Next, purge the steam wand by turning the dial briefly to expel any residual water. This ensures you have dry steam, essential for smooth, creamy milk.
2. Prepare Your Milk
Pour cold milk into your milk pitcher, filling it about one-third full. Cold milk gives you more time to control the texture. For best results, use whole milk for its fat content or barista-specific plant-based milks, which froth better than regular options.
3. Position the Steam Wand
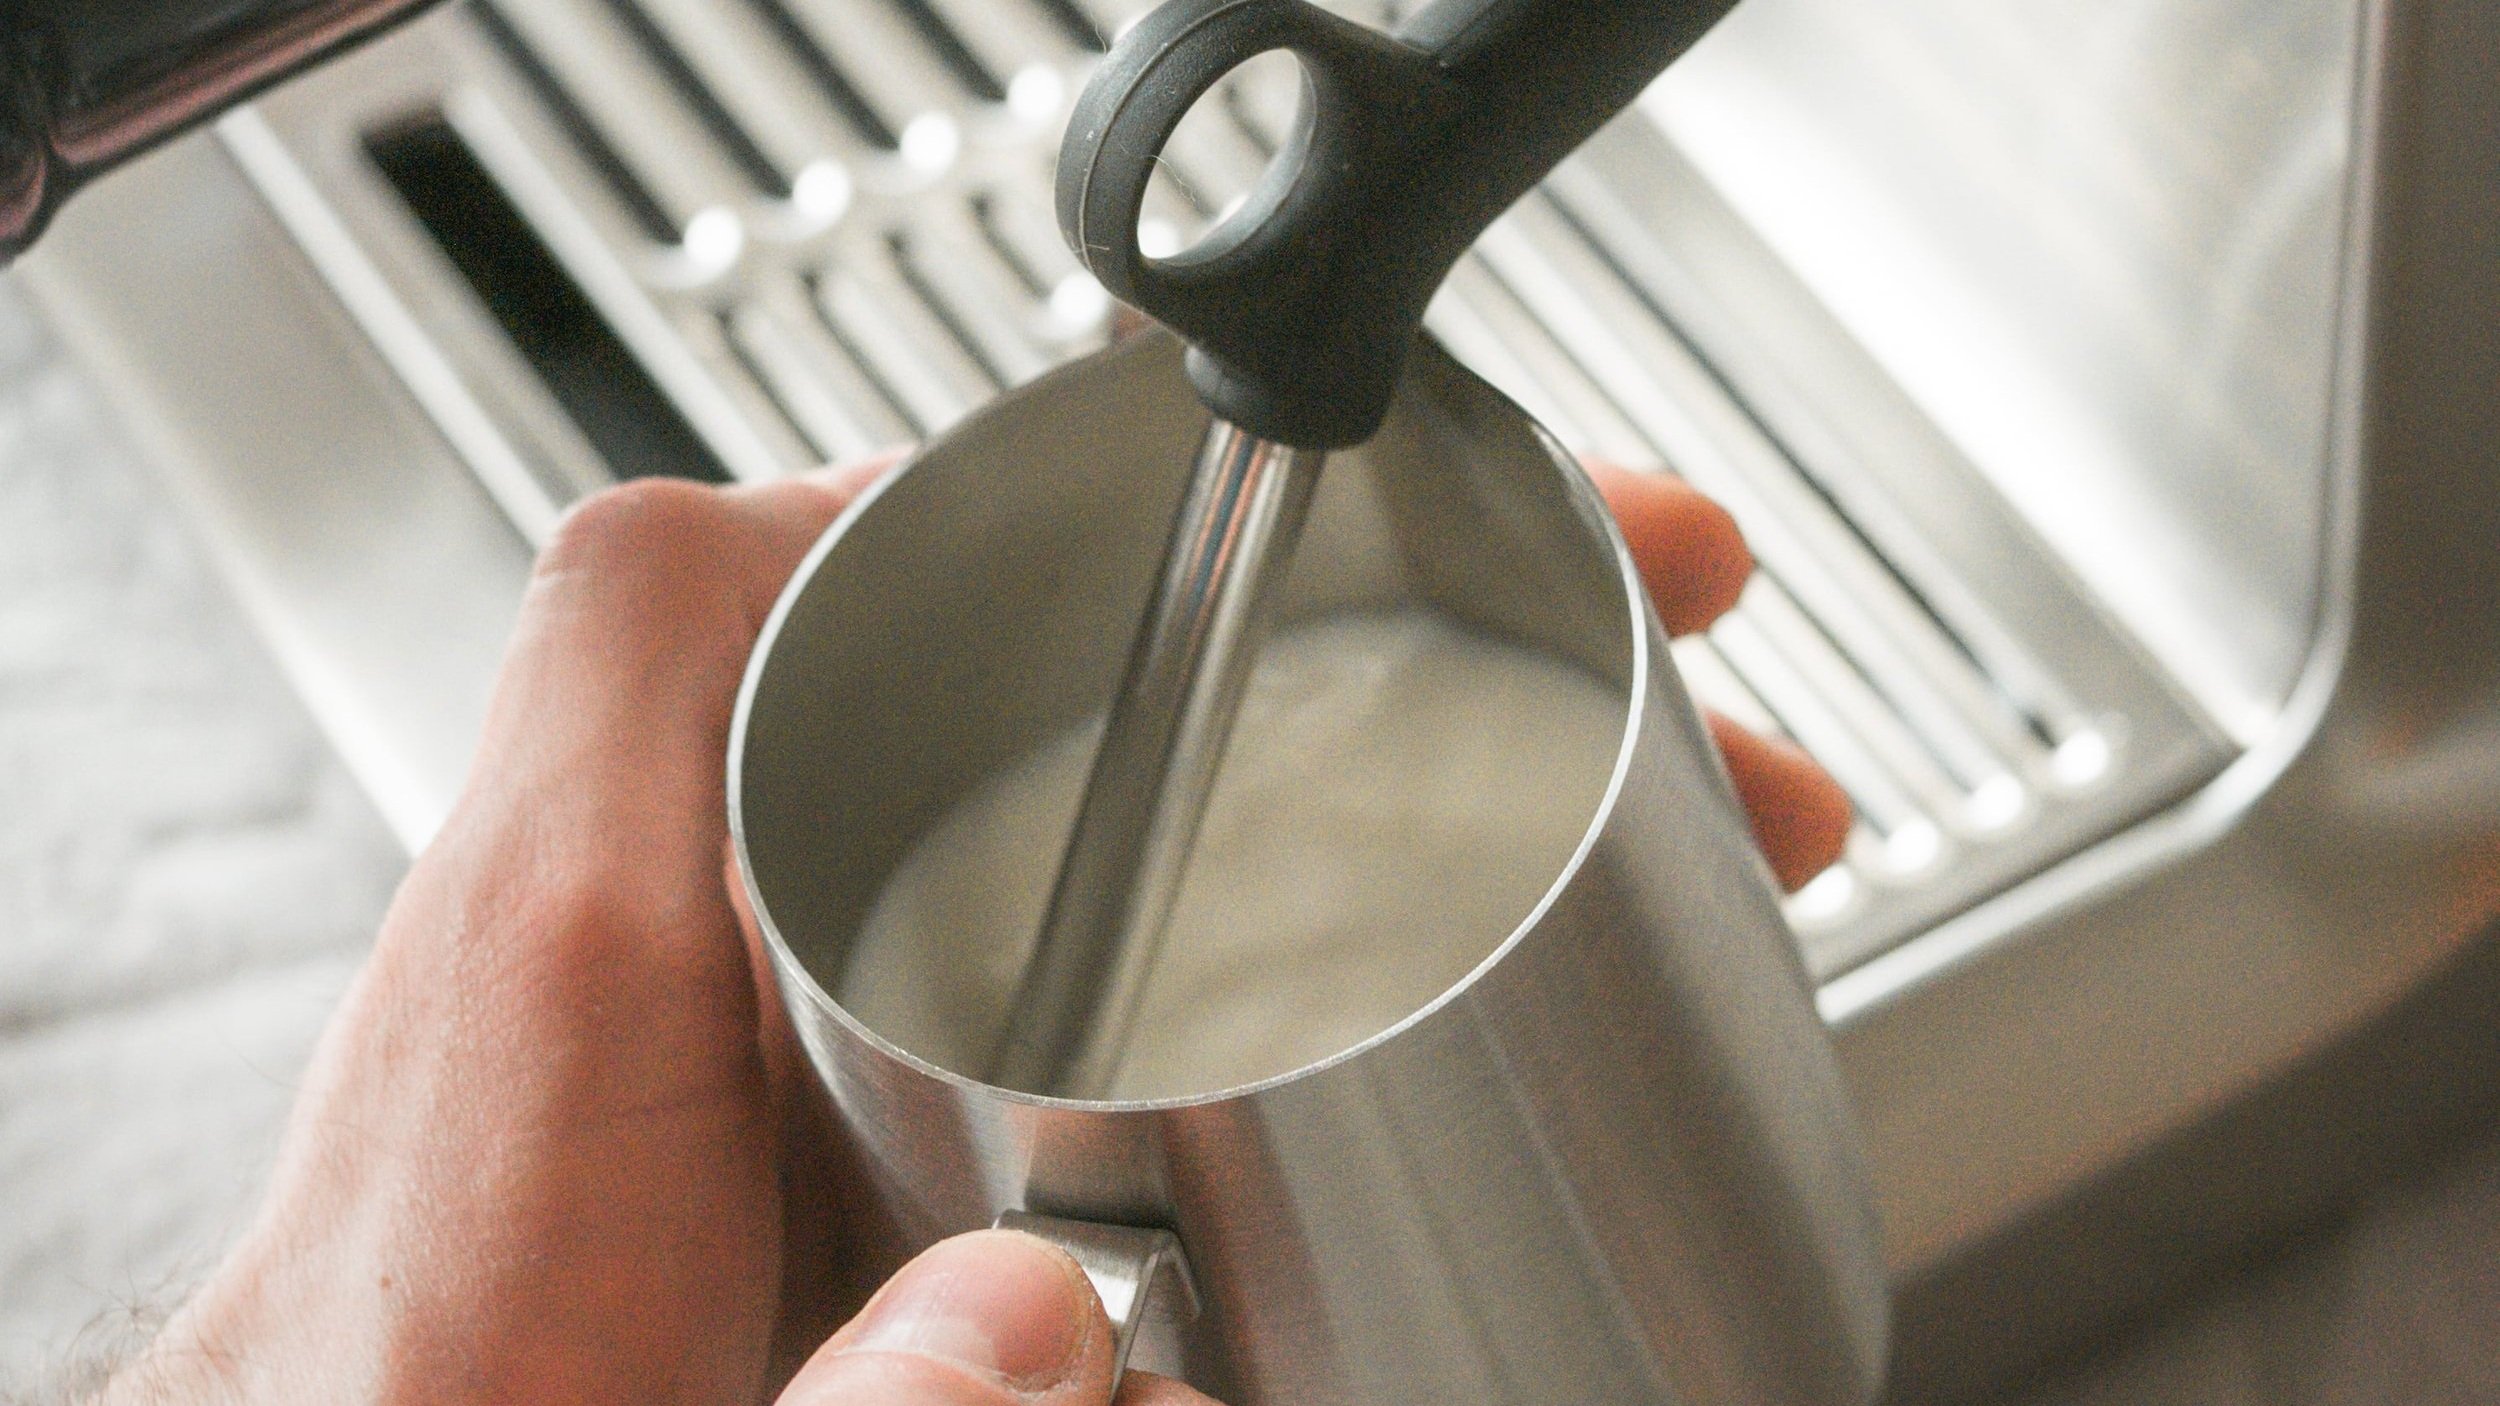
Correct placement of the steam wand is crucial. Submerge the tip just below the milk’s surface at a slight angle (15–20 degrees). This creates a whirlpool effect, which breaks down large bubbles and produces microfoam. Tilt the pitcher and position the wand near the edge to encourage even heating and smooth texture.
4. Start Steaming
Turn the steam dial and listen for a soft hissing sound. During the initial “stretching” phase (5–10 seconds), introduce air by keeping the wand near the surface. Then, lower the pitcher slightly to enter the “texturing” phase, fully submerging the wand to heat the milk evenly. Aim for a temperature of 150°F (65°C), or stop steaming when the pitcher is too hot to hold comfortably. Find out which machine suits you better in our Breville Barista Pro vs Express review
5. Perfect the Milk Texture
After reaching the desired temperature, turn off the steam and wipe the wand immediately with a damp cloth. Purge the wand again to prevent clogging. Tap the pitcher on the counter to remove any large bubbles and swirl the milk for a glossy, uniform texture. A silky, shiny foam indicates success.
6. Pour Like a Pro
Pour the steamed milk into your espresso slowly, keeping the pitcher close to the cup for an even blend. As the cup fills, raise the pitcher slightly and pour faster to add a thick layer of foam on top. With practice, you can experiment with latte art to impress guests or enhance your coffee experience.
Troubleshooting Common Milk Steaming Issues
Milk Won’t Froth Properly
- Use cold milk and ensure the steam wand tip stays just below the surface.
- Purge the wand before steaming for consistent steam pressure.
Large Bubbles in Foam
- Large bubbles often occur from introducing too much air. Keep the wand positioned just beneath the surface.
Overheated Milk
- Monitor the temperature with a thermometer or stop steaming when the pitcher feels too hot to touch. Overheated milk loses sweetness and can taste scorched.

Conclusion: Enjoy the Art of Steaming Milk
Steaming milk with the Breville Barista Express takes practice, but the reward is worth it. By following these steps, you can create creamy, café-quality drinks in the comfort of your home. Don’t be discouraged by initial attempts; every try will bring you closer to perfection. Embrace the journey, and happy steaming! Explore the key differences between these premium machines in our Breville Oracle vs Oracle Touch review
Frequently Asked Questions
What’s the Best Milk for Steaming?
Whole milk creates the richest foam, but barista-grade oat or almond milk is great for non-dairy options.
Why Isn’t My Milk Frothing?
Use cold milk and keep the steam wand tip just below the surface. Always purge the wand before starting.
How Do I Know When the Milk is Ready?
The ideal temperature is 150°F (65°C). If you don’t have a thermometer, stop steaming when the pitcher feels too hot to hold.
Can I Use Non-Dairy Milk?
Yes! Barista versions of oat and almond milk are designed for frothing and yield the best results.
How Can I Prevent Large Bubbles?
Keep the steam wand at an angle to encourage swirling, which breaks down larger bubbles for a smoother texture.
